You've chosen a colour, bought premium exterior paint for wood, and planned a repaint that should make the house look sharp for years. Then the North Shore summer arrives. The dark weatherboards heat up, fine cracks appear around joints, salt sits on the surface, and peeling starts where the timber was damp or poorly prepared. The failure often gets blamed on the paint, but the cause is usually a mismatch between the timber, the coating system, Auckland's exposure, and the preparation beneath it.
Why Timber Exteriors Fail in Coastal Climates
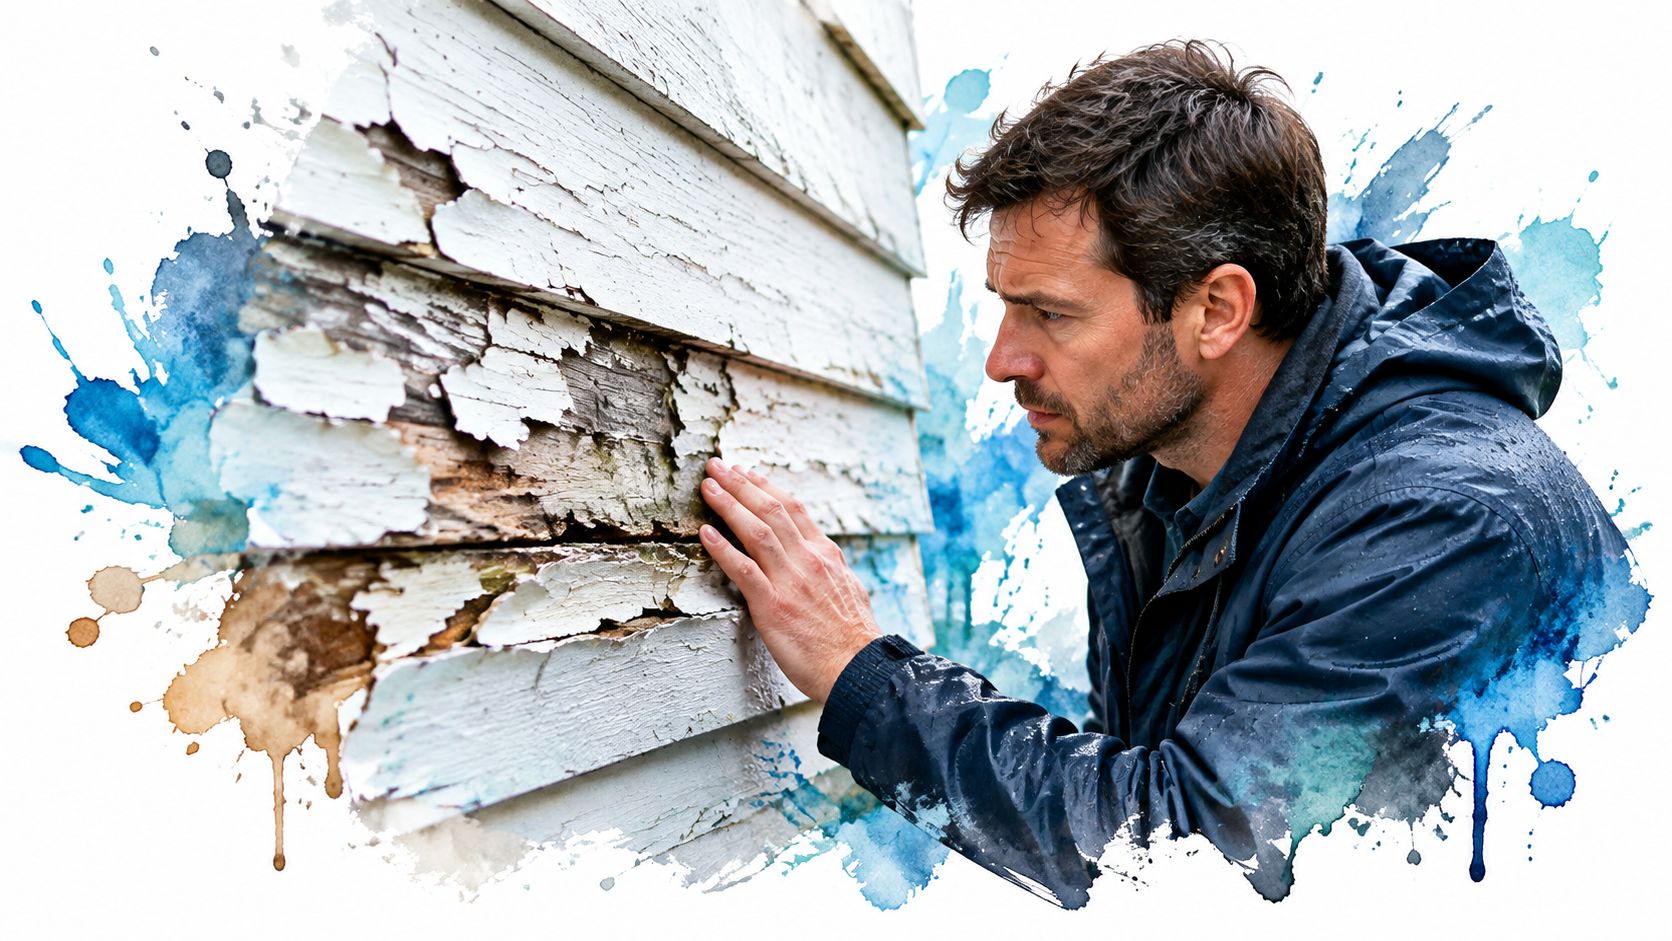
A North Shore homeowner may first notice the problem on a sunny elevation. The colour looks faded, the film feels chalky, or a thin split appears along a weatherboard edge. By the time paint visibly peels, moisture may already be moving through weak joins, unsealed end grain, or failed coating.
Exterior paint for wood has a protective job, not just a decorative one. Under AS/NZS 2311:2017 guidance for painting buildings, the system needs to address products, preparation, application, and maintenance. Resene's exterior timber guidance identifies moisture impermeability, UV resistance, flexibility, and heat reflection as important coating requirements, and recommends three topcoats for maximum durability.
Salt, sun, and movement work together
Coastal properties face more than ordinary rain. Salt spray can remain on exposed surfaces, humidity slows drying, and strong sunlight accelerates the breakdown of exposed coatings and unprotected timber. North- and west-facing elevations usually deserve closer attention because they receive demanding sun exposure during the day.
Timber also moves. It expands and contracts as its moisture and temperature change, while the paint film tries to remain continuous. A rigid or poorly bonded coating can split at joints, nail heads, corners, and board edges. Once water reaches the timber, repeated wetting and drying can push the coating further away from the surface.
Practical rule: A premium product can't compensate for damp timber, salt contamination, failed joints, or insufficient film thickness.
A quick DIY repaint often hides the early symptoms without resolving the mechanism. Painting over chalk, loose flakes, mould, or weather-damaged fibres creates a weak bond. The new film may look acceptable at handover, but it's attached to a surface that was already failing.
The most reliable approach treats the exterior as an asset protection system. The specification should account for the timber species, exposure, colour reflectance, moisture condition, repairs, primer, topcoats, and future washing. That's why an attractive colour choice must come after the substrate and maintenance strategy, not before them.
Matching Paint Systems to Wood Substrates
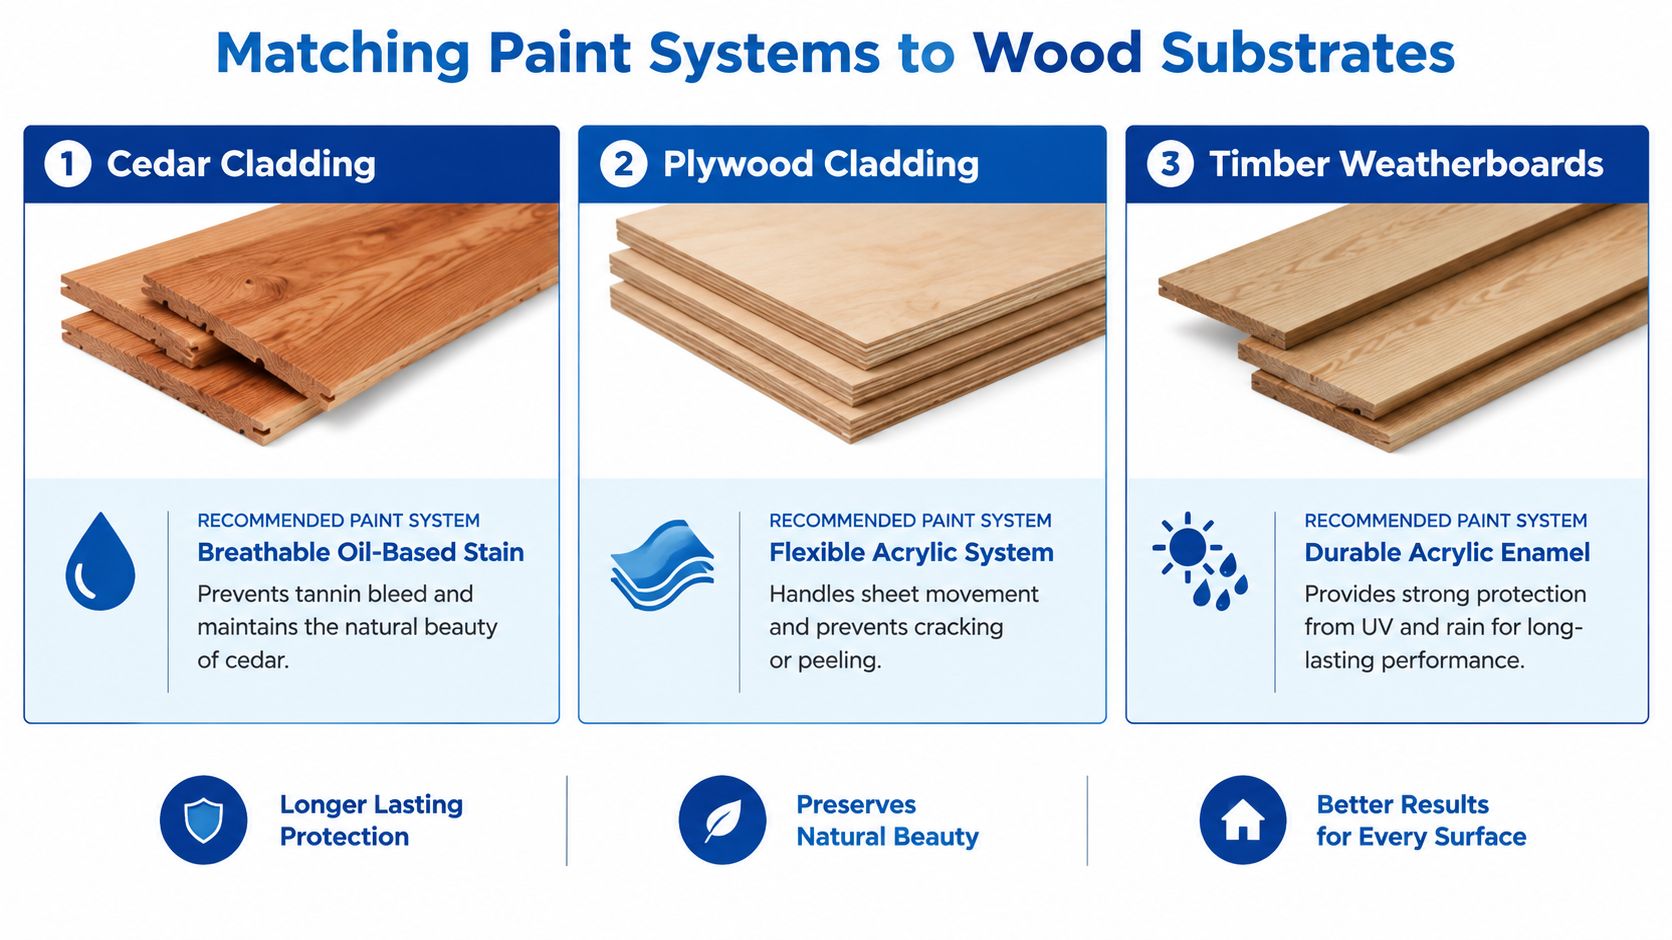
Different timber products behave differently, so a single exterior paint for wood system rarely suits every surface on the same house. Weatherboards, cedar cladding, and plywood can sit side by side, yet each has different movement, porosity, edge detail, and coating requirements.
Timber weatherboards
Traditional timber weatherboards need a coating that can tolerate movement while resisting rain and UV. A quality exterior acrylic system is usually the practical choice because it combines flexibility with a durable surface film. The right system still depends on the existing coating, timber condition, exposure, and colour.
Weatherboard edges and bottom laps deserve careful inspection. Paint can bridge a gap visually while leaving an unsealed pathway for water. Nail holes, open joints, split boards, and end grain should be repaired with compatible products before priming.
For a more detailed product and substrate discussion, see this guide to the best paint for weatherboards in New Zealand. The important point isn't choosing an acrylic label. It's matching the primer, undercoat, sheen, and topcoat to the existing surface and the way the boards are exposed.
Cedar cladding
Cedar can look excellent when its natural character is preserved, but it needs a different finishing decision from painted weatherboards. A penetrating stain or suitable exterior oil allows the timber to retain a more natural appearance, provided the product is compatible with the cedar and the maintenance expectations are understood.
Cedar also needs prompt protection after exposure. Resene's timber specification guidance explains that UV exposure degrades lignin at the surface, which reduces surface integrity and can weaken later coating adhesion. Cedar that has weathered should be assessed, cleaned, and sanded rather than sealed over as though it were fresh timber.
Plywood cladding
Plywood presents broad faces and vulnerable edges. The sheet can move, while exposed edges absorb moisture quickly if they aren't sealed properly. A flexible acrylic system can suit painted plywood, but only after edge sealing, fastener treatment, joint detailing, and substrate repairs have been handled.
A mixed-cladding house needs a mixed specification. The same topcoat may be suitable across the building, but the preparation and primer beneath it may need to change from one timber product to another.
Look for visible sheet joints, open sealant, swelling, delamination, and damaged corners. If the plywood has started to separate, paint won't restore its structural integrity. Repair or replacement must happen before the coating system is applied.
Surface Preparation and Moisture Thresholds
Preparation determines whether the coating bonds to sound timber or merely covers contamination and damage. The first measurement should be moisture, not colour.
Resene's timber specification states that timber shouldn't be primed, painted, or stained above 17% moisture content. That threshold is a product and specification requirement, so the painter should test representative areas with a calibrated moisture meter rather than relying on touch or a dry-looking surface.
A preparation sequence that protects adhesion
Start by washing away dirt, chalk, mould, and coastal residue. Salt contamination is particularly important on exposed North Shore properties because a clean-looking surface can still carry deposits that interfere with adhesion. Use a suitable cleaning solution, agitate where needed, rinse thoroughly, and allow the timber to dry before measuring again.
Remove loose and flaking paint back to a firm edge. Feather sharp transitions with sanding so the new system doesn't leave ridges around every repair. Weathered timber should also be sanded because UV-damaged fibres form a weak surface layer.
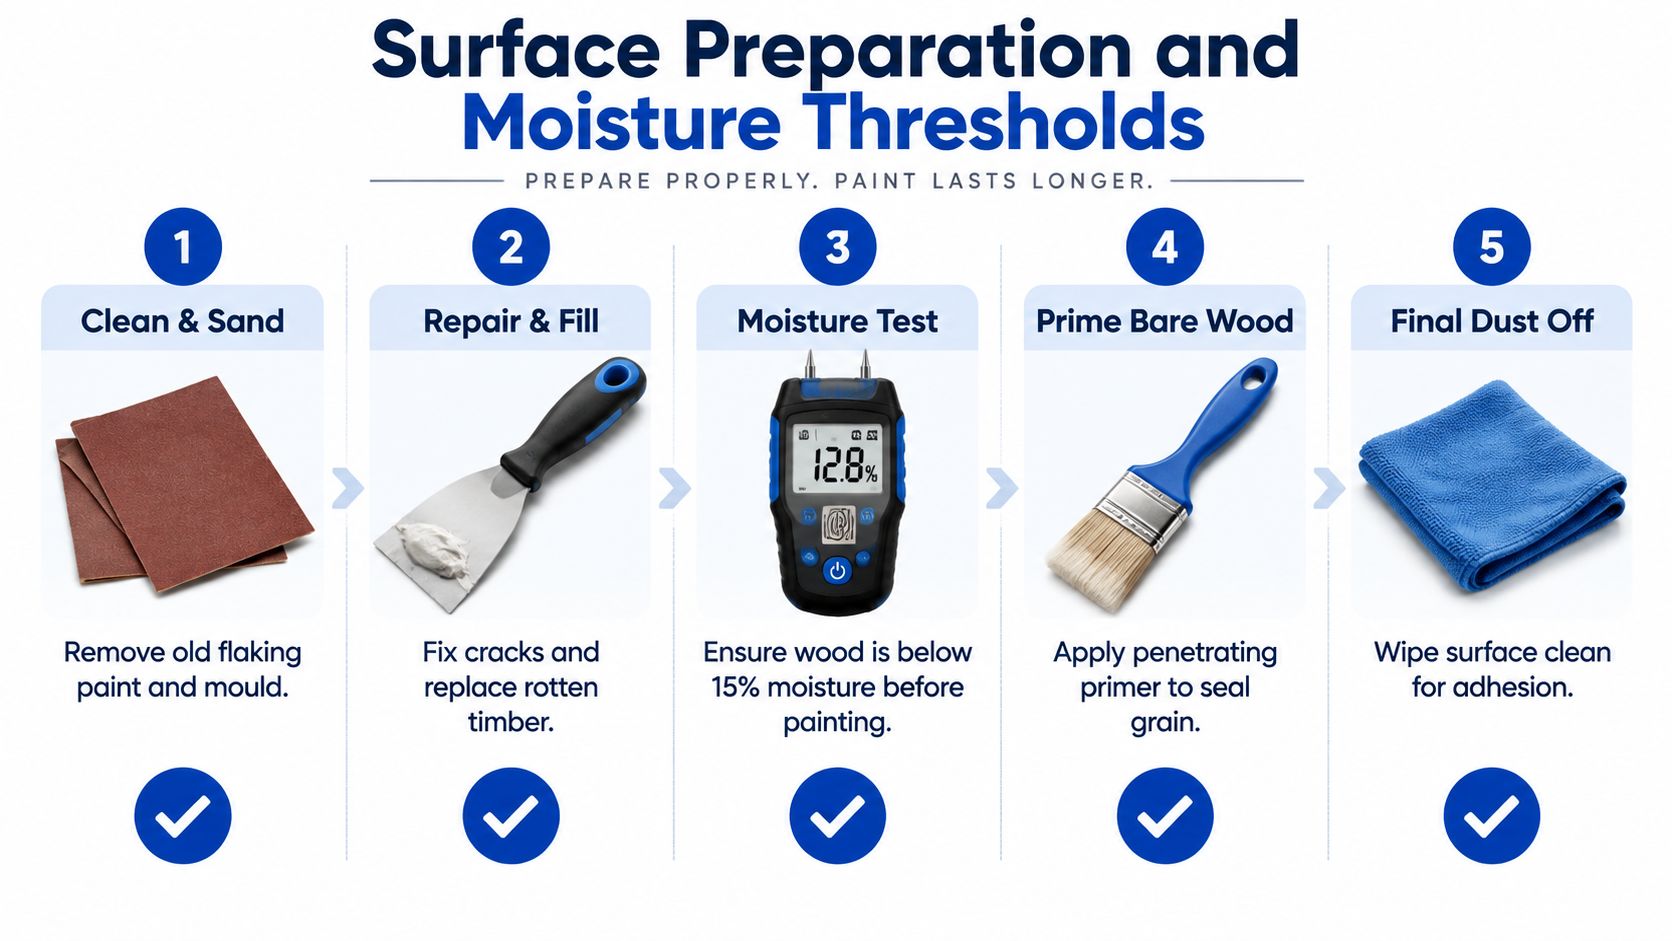
Use this sequence as a site checklist:
- Clean and sand: Remove loose film, surface dirt, mould, salt, and degraded fibres.
- Repair and fill: Replace rotten timber, repair splits, and renew failed joints with compatible materials.
- Test moisture: Confirm the timber is below the specified moisture threshold before coating.
- Prime exposed timber: Seal the surface with a primer suited to the timber and coating system.
- Remove dust: Brush or wipe down the surface immediately before application.
Why exposed timber needs prompt attention
Timber left exposed to weather doesn't remain a neutral surface. The Resene timber guidance notes that UV rapidly degrades lignin, particularly after weather exposure. Sanding removes the weakened surface and gives the primer a more stable base.
Mould needs treatment rather than simple overpainting. Shaded elevations, sheltered corners, and areas near vegetation can retain moisture for longer, so the cleaning process should address biological growth and the reason it persists. Check gutters, downpipes, flashings, window details, and splashback zones before assuming paint caused the problem.
For heavily built-up or failing surfaces, professional paint stripping in Auckland may be more appropriate than repeated spot scraping. The aim is to remove unstable material without damaging the timber profile.
The Hidden Cost of Dark Exterior Colours
Dark timber exteriors can deliver a strong architectural result, but the colour changes the thermal demands placed on the boards. A low Light Reflectance Value, or LRV, means the surface reflects less light and generally absorbs more heat.
NZ guidance notes that peak summer UV in the north can exceed a UV Index of 14, while Auckland can reach around 12 in peak summer, as described in Resene's guidance on dark-painted exposed timber. That exposure can increase heat load on dark weatherboards, encouraging expansion and contraction that contributes to cracking, cupping, and coating breakdown.
LRV is a maintenance decision
Resene's exterior timber guidance recommends an LRV between 40% and 100% to support the NZBC 50-year durability requirement and reduce face checking on timber. That doesn't mean every darker colour is automatically unsuitable, but it does mean the colour should be assessed as part of the building's durability strategy.
The trade-off becomes clearer when darker colours fall below 25% LRV. Resene's guidance indicates that these colours may need repainting at around 7 years, compared with the commonly cited 7 to 10 year maintenance cycle for quality acrylic systems on weatherboards. The exact outcome still depends on orientation, exposure, preparation, coating quality, and washing.
| LRV range | Colour depth | Heat load impact | Expected maintenance cycle |
|---|---|---|---|
| 40% to 100% | Light to medium | Lower heat absorption and reduced timber stress | Supports the recommended durability approach when the full system is suitable |
| Below 25% | Dark | Higher heat load, greater movement risk, and increased checking pressure | May require repainting at around 7 years, subject to exposure and upkeep |
The table is a planning guide, not a promise. A sheltered elevation may perform differently from a steep, sun-facing weatherboard wall. Dark colours also make chalking, fading, edge failure, and patch repairs more visible, so appearance can drive repainting before the coating has completely failed.
Choosing a dark finish responsibly
If a dark palette is important, ask the paint supplier or contractor about a system designed for exposed timber and colour-related heat concerns. Confirm the product's approved colour range rather than assuming a standard dark tint is appropriate.
Also inspect the substrate before approving the colour. Thin boards, heavily exposed elevations, poorly ventilated cavities, and areas with existing movement deserve a conservative specification. The cheapest colour decision can become the expensive one if it shortens the maintenance interval or accelerates timber repairs.
Building a Weather-Resistant Coating System
A durable exterior paint for wood system is built in layers. Each layer has a distinct job, and skipping one can leave the topcoat carrying responsibilities it wasn't designed to handle.
Start with the correct primer
Bare timber needs a primer selected for the substrate and the finish system. The primer seals the grain, improves adhesion, and helps regulate absorption across repaired and original areas. Cedar and other resinous timber may need a primer that manages extractives or tannin bleed, while weathered surfaces may need additional preparation before the primer can perform.
Primer doesn't replace cleaning or sanding. It bonds only as well as the surface allows, so dust, chalk, salt, and loose fibres still need to be removed first.
Build film thickness in controlled coats
A practical system commonly includes primer where required, an undercoat or build coat where specified, and multiple compatible topcoats. Resene's exterior timber guidance recommends three topcoats for maximum durability, which creates a more durable film for UV and moisture exposure than a rushed single-coat repaint.
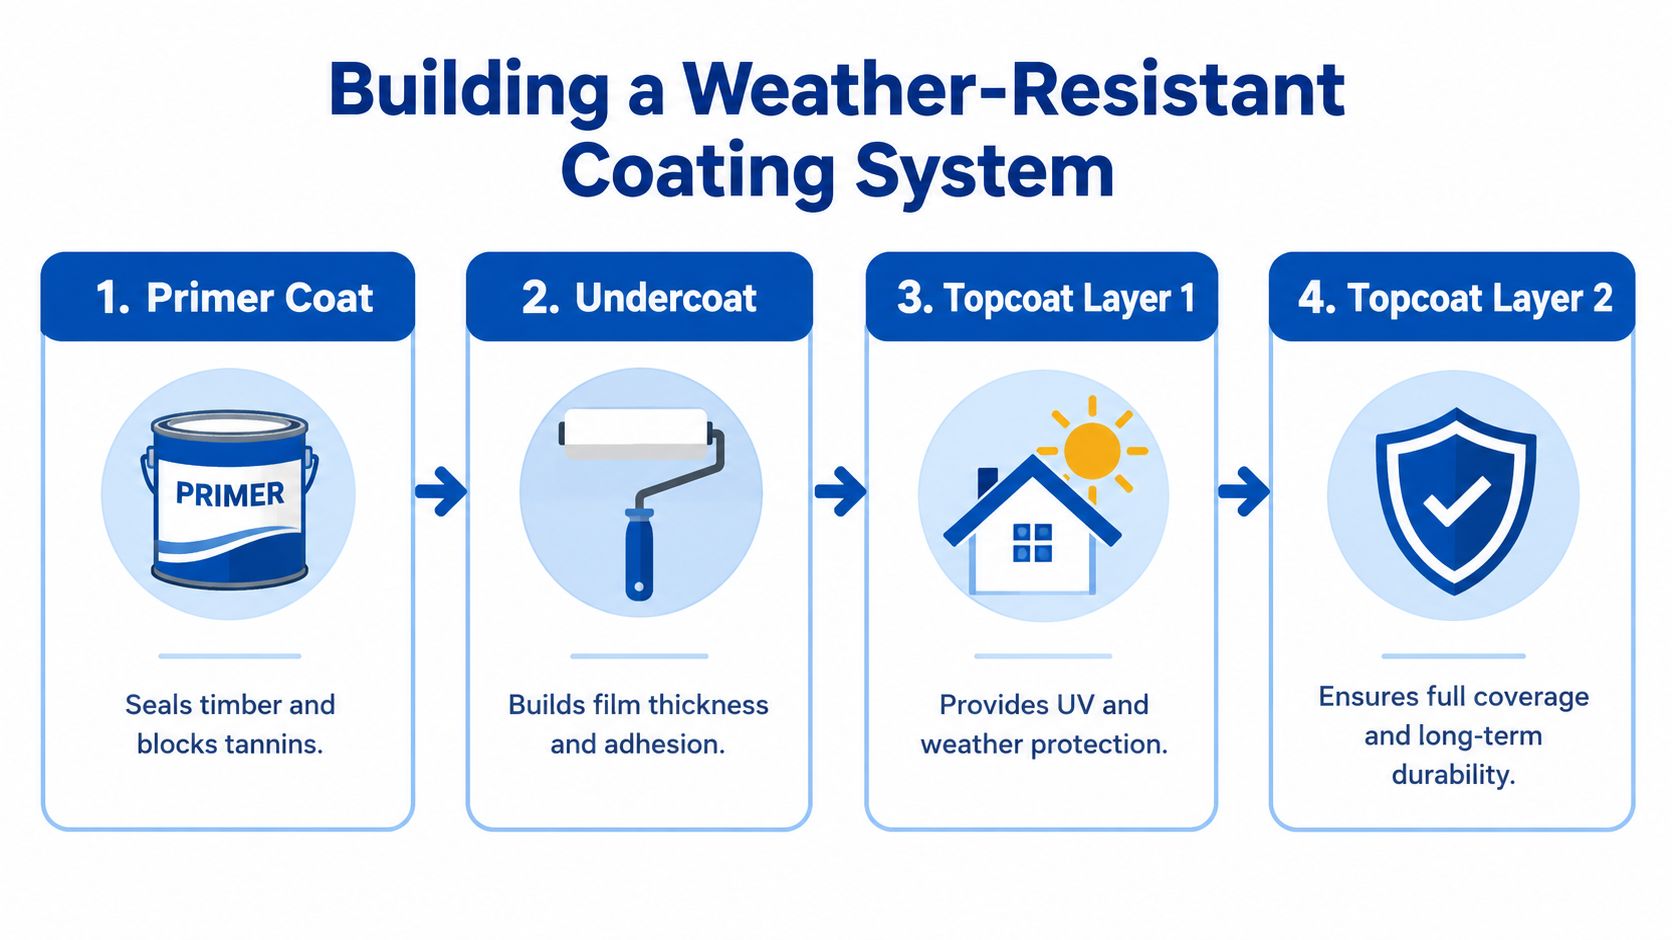
A sound application sequence looks like this:
- Primer coat: Seal prepared timber and address substrate-specific adhesion or bleed risks.
- Undercoat: Even out porosity and establish a consistent base where the system requires it.
- First topcoat: Begin the weather and UV barrier with complete, even coverage.
- Final topcoat: Reach the specified coverage and film build without thin edges or missed profiles.
Premium acrylics are often favoured on painted weatherboards because they can accommodate normal timber movement while resisting exterior weathering. Low-VOC options may be selected where site requirements call for them, but the coating still needs to be compatible with the timber, existing finish, and exposure.
Decks and vertical cladding shouldn't automatically receive the same finish. For a separate comparison of penetrating finishes and surface protection, compare deck stains and sealers from XTREME EDEALS INC. The right product depends on whether the timber needs a film-forming paint, a penetrating stain, or an oil-based maintenance finish.
Maintenance Schedules for Coastal Properties
Repainting is only one part of exterior timber care. Washing and inspection remove contaminants before they become coating problems, while early repairs prevent small defects from exposing larger areas of timber.
Independent New Zealand guidance describes annual maintenance as an expectation for painted timber, with sea spray requiring more frequent washing in some coastal locations. That doesn't mean the whole house needs a repaint every year. It means the owner should inspect, clean, and respond to localised wear before failure spreads.
Separate washing from repainting
Quality acrylic systems on timber weatherboards are commonly expected to last 7 to 10 years, while oil-based or alkyd systems may last 4 to 6 years, according to NZ guidance on maintaining painted timber products. Slanted, high-UV surfaces can perform for 5 to 7 years, and oil-based systems on those demanding surfaces may fall within 1 to 5 years, depending on exposure and upkeep.
Use the expected cycle as an asset-planning guide, not a guarantee. A North Shore property exposed to salt spray may need more washing, while a sheltered wall may need less intervention.
Inspect the elevations that fail first
Walk the north and west-facing walls, window sills, bargeboards, fascia, and lower weatherboard edges. Look for:
- Chalking: Powder on the surface can indicate coating breakdown.
- Micro-cracking: Fine cracks often appear before larger peeling areas.
- Open joints: Failed sealant can direct water behind the coating.
- Exposed timber: Bare patches need prompt preparation and priming.
- Mould or staining: Persistent growth can point to drainage, shade, or moisture problems.
Building guidance provides a useful planning framework for access and replacement. Elements that are easy to access and replace have a minimum durability expectation of 5 years, moderately difficult elements 15 years, and difficult-to-access elements 50 years, as outlined in NZ building guidance on coatings and exterior painted surfaces.
For cedar owners, a dedicated cedar siding maintenance guide can help with the separate cleaning and finishing demands of that material. Body corporates and property managers should record inspection dates, elevations, repairs, and coating details so repainting becomes planned maintenance rather than an emergency response.
Evaluating Professional Painting Contractors
The contractor's preparation method matters more than a polished colour presentation. Ask how the team will wash the timber, remove failed coating, test moisture, repair defects, prime bare areas, and protect adjoining surfaces.
A proper estimate should identify the substrate and the coating build-up. It should distinguish weatherboards from cedar and plywood, name the primer and topcoat system, describe preparation, and state what repairs are included or excluded. A vague quote that says “prepare and paint exterior” leaves too much room for shortcuts.
Ask practical questions before accepting the work:
- Moisture testing: Will the crew record timber readings before priming?
- Surface preparation: How will chalk, mould, salt, and loose paint be removed?
- Timber repairs: Will rotten boards, open joints, and exposed edges be addressed?
- Coating specification: Which primer, undercoat, and topcoat are proposed?
- Colour suitability: Has the proposed colour been checked for exposure and LRV?
- Quality control: Who checks coverage, edges, drying conditions, and touch-ups?
Site Safe certification, insurance, local experience, and a written workmanship guarantee provide useful safeguards, but they don't replace a detailed methodology. You should be able to understand what the contractor will do before the first tin is opened.
For a structured starting point, use this quotation for painting a house and compare scope rather than headline price. Painters North Shore is one local option that provides exterior timber preparation, substrate-specific coating work, colour consultation, and itemised estimates for North Shore properties.
Painters North Shore can assess weatherboards, cedar, and other exterior timber, then specify preparation and coatings suited to Auckland's coastal exposure. Visit Painters North Shore to arrange an on-site assessment and discuss a repainting plan that protects the timber as well as the finish.