A North Shore deck can look fine from the kitchen window while the boards underfoot are already fading, cupping or holding damp debris. By the time the grey colour becomes obvious, the existing coating may have stopped protecting the timber evenly.
Staining your deck isn't just a colour choice in Auckland. Strong sunlight, heavy rain, temperature changes and coastal air all affect how timber and coatings perform. A durable result comes from matching the finish to the site, preparing the boards properly and recoating when inspection shows protection is failing, rather than following an arbitrary calendar.
Why North Shore Decks Need a Different Approach
A deck on the North Shore has to cope with two separate environmental pressures. Ultraviolet radiation attacks exposed timber and coatings from above, while rainfall, humidity and, on coastal properties, wind-driven salt spray keep testing the surface from every direction.
NIWA states that New Zealand's maximum summer UV Index is generally about 12 and can exceed 13 in the far north. Winter peak values are typically only 1–2, and a UV Index of 10 or more is classified as extreme. NIWA gives an approximate burn time of about 12 minutes at UVI 12, compared with about 24 minutes at UVI 6. These figures describe human sunburn risk rather than timber degradation directly, but they show why exterior timber can fade, silver, dry and weather quickly in local conditions. NIWA's UV Index guidance provides the relevant context.
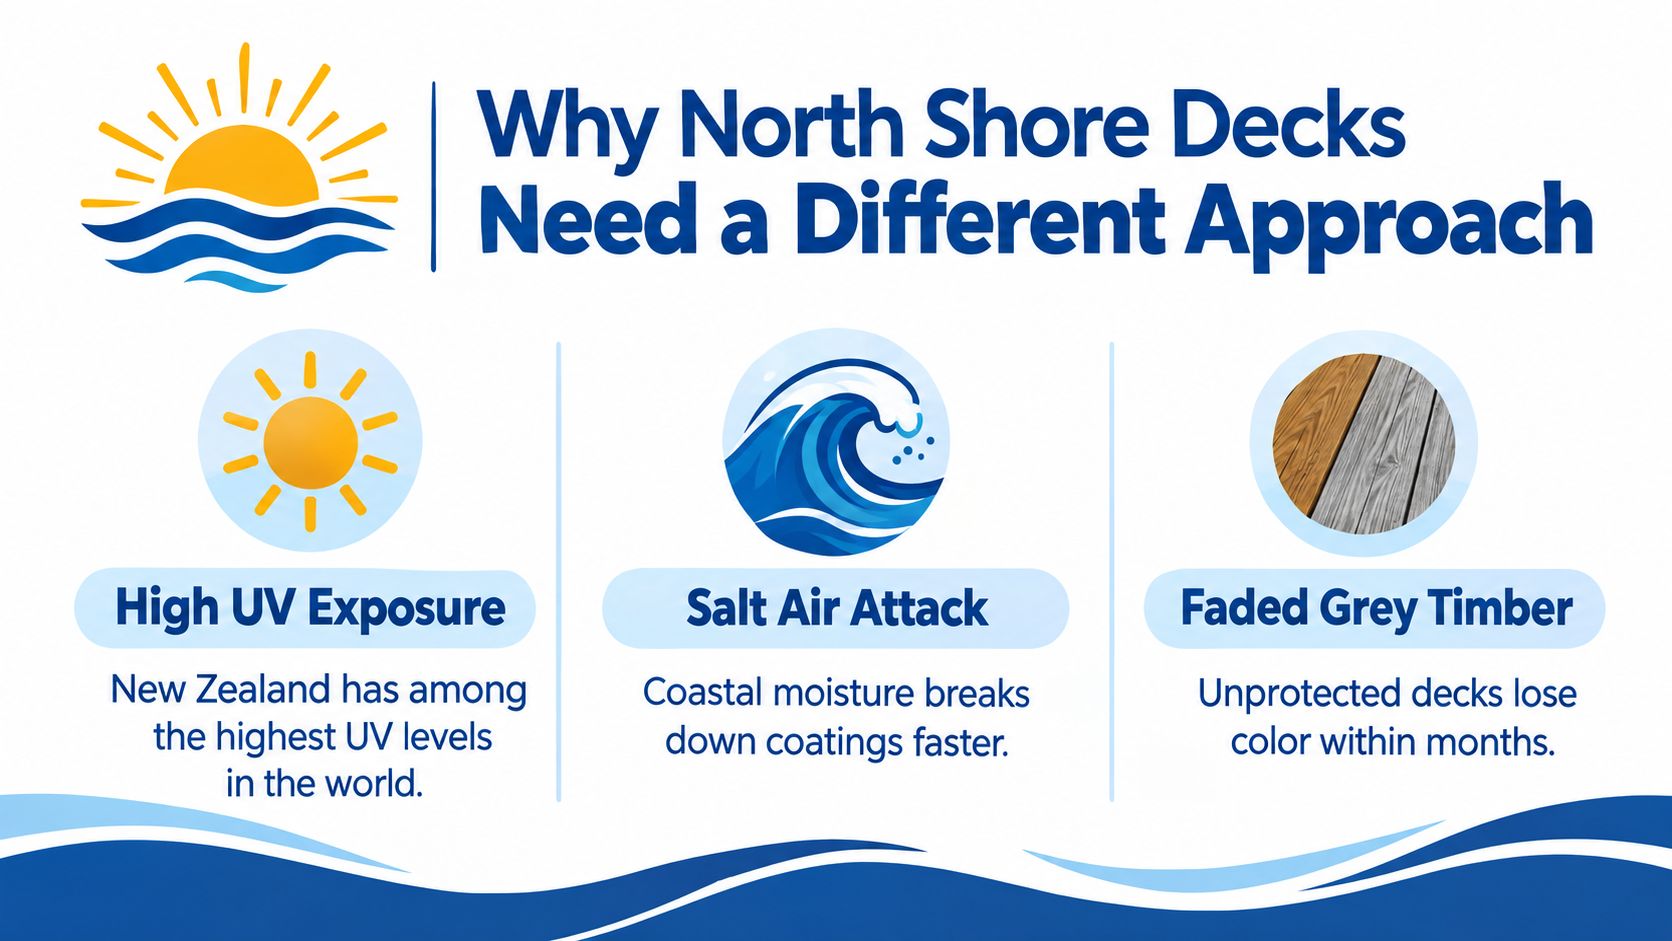
Sun and salt create different problems
Sunlight gradually strips colour and dries the exposed face of a board. Salt carried in coastal air can settle on the finish and timber, while moisture repeatedly moves into and out of the surface. The result isn't always dramatic at first. You might notice dulling, a dry feel, uneven colour or exposed end grain before you see obvious coating failure.
A stain therefore has a job beyond appearance. It forms part of the timber's ongoing protection, especially on a deck facing open sky or receiving afternoon sun. A sheltered deck beneath a roof won't experience the same exposure as a west-facing deck near the coast, so both shouldn't receive the same maintenance plan.
Practical rule: Treat staining as a maintenance system of cleaning, drying, preparation and reapplication, not as a one-time upgrade.
North Shore homeowners comparing exterior finishes should also consider how the deck relates to the rest of the property. Guidance on choosing exterior paint for coastal homes can help you think about exposure across cladding, trims and outdoor timber as one environment rather than choosing a deck colour in isolation.
Protection must be site-specific
New Zealand building guidance calls for washing down exterior elements exposed to wind-driven salt spray and recoating protective finishes. That makes regular observation particularly important on coastal properties, where the finish may look acceptable on one side of the deck and worn on another.
The useful question isn't “How often should every deck be stained?” It is “Where is this deck losing uniform protection, and why?” That shift leads to better decisions. A dry inland deck, a humid North Shore garden deck and an exposed coastal balcony may all need different preparation, products and timing.
Inspecting Your Deck Before You Start
A deck can look ready for stain while failing underneath. Walk the entire structure before opening the tin, treating it as a building element rather than a surface needing fresh colour. Stain will not restore decayed timber, correct poor drainage or tighten a loose fixing. Coating over those defects can hide the warning signs and make later repairs harder.
Begin with the boards. Press a screwdriver or similar tool gently into suspicious areas, especially near board ends, wall junctions, stairs and shaded sections. Soft timber, crumbling fibres, deep splits and persistent dampness need assessment before any coating is applied. View the deck from a low angle to spot cupping, warping and lifted edges, then walk across each area to check for movement.
Follow the moisture
Water management often determines whether a staining job lasts. Clear leaves, soil and moss from the gaps, then inspect underneath wherever access allows. Trapped debris keeps moisture against the timber and restricts drainage. Blocked gaps also slow drying after rain, which matters on North Shore decks exposed to humid conditions, intense UV and wind-driven salt spray.
Inspect the perimeter and the junction where the deck meets the house. Water may collect beneath stairs, around posts or beside the wall even when the main surface appears dry. Check for corroded fixings, popped nails and damaged sections. The New Zealand guidance on common timber-deck problems and repairs identifies repeated wetting and drying, UV exposure and temperature variation as causes of movement and stress in timber and fasteners. It also lists rot, moss, mould, cupping, loose boards and damaged sections as conditions requiring attention.
Use this inspection sequence:
- Test suspect timber: Locate decay and areas that crumble under light pressure.
- Check movement: Walk each section and look for loose boards, popped fixings or unstable steps.
- Clear the gaps: Remove leaves, soil and organic matter from slats and joints.
- Trace the water: Look for ponding, poor fall, blocked drainage and damp wall junctions.
- Inspect separation: Confirm posts and framing are not kept wet or placed directly against the ground.
Moisture separation also affects expected timber durability. MBIE's determination concerning cedar weatherboards and macrocarpa deck timbers illustrates this point, including the requirement for 350 mm clearance between the bottom of deck posts and the ground. The determination on timber durability and maintenance also stresses inspection, cleaning and preservative reapplication.
If you find decay, persistent pooling or a structural concern, stop before staining. Arrange repairs or a professional assessment first. Use the inspection findings to decide whether the deck needs cleaning, repairs, or a different maintenance timing rather than recoating by calendar alone.
Preparing the Surface for Maximum Adhesion
Preparation controls the finish more than the brand name on the tin. A deck covered with salt, dirt, mildew, loose coating or sanding dust won't give new stain a consistent surface to bond with.
Begin by removing furniture, pots and loose debris. Sweep along the grain, then work through the gaps with a narrow scraper, stiff brush or suitable outdoor tool. Wash the boards with a cleaner compatible with the existing coating and timber. On a coastal deck, washing also removes salt deposits that may not be visible but can interfere with a clean, even finish.
Use a deliberate preparation sequence
Work methodically rather than trying to complete every task in one pass.
- Wash first: Remove salt, organic contamination, dust and loose surface grime. Rinse thoroughly so cleaner residue doesn't remain in the timber.
- Strip failing material: Scrape or remove peeling and unstable coatings. A product such as this paint remover for New Zealand timber surfaces may be appropriate where the existing finish won't accept sanding alone, but always check compatibility and follow the label.
- Sand rough areas: Smooth splinters, raised grain and sharp transitions between bare timber and sound coating. Don't polish the boards so heavily that the stain can't key into the surface.
- Clean the dust: Brush or vacuum sanding residue from boards, edges and gaps. Dust left behind creates patchy adhesion.
- Treat repairs carefully: Replace or repair damaged timber rather than filling defects that indicate decay. Keep drainage paths and board gaps open.
Pressure washing requires restraint. Excessive pressure can roughen the timber, drive water into joints or damage a soft board. The aim is to clean the surface, not reshape it.

Drying is essential. Allow the deck to dry completely after washing and after any rain, paying attention to shaded areas, board ends and joints. Applying stain to damp timber can prevent even absorption and leave moisture trapped beneath the coating. Before committing to the full deck, test the selected product on an inconspicuous patch and check both adhesion and colour.
Choosing the Right Stain for Your Conditions
A North Shore deck facing full sun and wind-driven salt spray needs a different coating decision from one beneath a covered veranda. The right stain depends on timber species, treatment, exposure and the condition of the existing finish. A transparent oil keeps the grain prominent, while a more opaque system gives weathered or uneven boards a more consistent appearance. Both still depend on sound preparation and inspection-led maintenance.
Check how much direct sun reaches each area, whether salt-laden air reaches the deck, and how easily you can clean and recoat it. Strong UV can fade exposed colour quickly, while coastal moisture and salt can accelerate surface breakdown. Darker colours may absorb more heat and show dust or wear sooner. Lighter finishes create different cleaning demands. Test the product on the actual timber before selecting a colour for the whole deck.
Stain selection by timber and exposure
| Timber Type | Exposure Level | Recommended Stain Type | Key Consideration |
|---|---|---|---|
| H3.2-treated radiata pine | Exposed sun or coastal air | Penetrating or semi-transparent system suited to treated timber | Confirm compatibility, allow proper drying and prioritise UV protection |
| H3.2-treated radiata pine | Sheltered or partly covered | Penetrating stain or compatible oil system | Watch for moisture retention beneath the covered areas |
| Cypress or other natural timber | Exposed conditions | Product matched to the species and exposure | Recheck colour uniformity, end grain and early signs of weathering |
| Sound previously stained timber | Mixed exposure | Compatible recoat system after removing failing material | Test adhesion and avoid sealing loose or peeling layers |
| Weathered or uneven boards | Strong sun and visible variation | More opaque stain system where compatible | Expect less visible grain and more uniform colour |
Building Code guidance separates timber durability requirements by species, treatment and location. H3.2-treated radiata pine is specified for some exposed exterior structural applications, while cypress requirements vary by use. Those classifications describe the expected durability of the building element in a particular application, not the service life or colour retention of a deck coating. Select a stain that suits the treated timber, then plan future work around inspection results rather than an automatic calendar recoating date.
If you are weighing timber against composite for a future build, this comparison of decking materials helps you find the best deck for your home. For an existing timber deck, choose the system the substrate can accept and the site allows you to maintain. A penetrating product may make local touch-ups less conspicuous, while a film-forming finish can provide a more uniform appearance but may require more careful preparation before recoating. This guide to wood stain versus finish explains the practical difference.
Applying Stain Like a Professional
Application should follow the way you move around the deck. Start at the furthest point from your exit, work with the grain and divide the surface into manageable sections. This prevents you from stepping onto fresh coating and gives you a better chance of keeping a wet edge.
Use a brush for edges, board ends, railings, steps and tight junctions. A roller can cover open boards efficiently, but it still needs back-brushing so the stain reaches the grain and doesn't pool in one area. A sprayer may be practical on large, open sections, although it demands careful masking and immediate back-brushing.

Control the wet edge
Apply a consistent amount rather than flooding the timber. Heavy application can leave a sticky surface, slow drying and create a film that later peels. Thin out visible runs immediately, and don't allow a section to dry before you blend the next section into it.
Work along several boards at a time so joins fall in natural breaks. Keep a small brush nearby for missed grooves and end grain, but don't use it to push excess stain into gaps where water needs to drain. End grain should be protected where the product allows, but board gaps and wall junctions must remain clear rather than becoming sealed moisture traps.
Railings and steps need a different rhythm from the main deck. Coat vertical faces before horizontal walking surfaces, and give stair nosings and high-traffic edges careful coverage. At the house wall, keep the finish neat without bridging a junction that needs to drain or be inspected.
Application check: If the timber looks wet with excess product rather than evenly coloured, you've probably applied too much. Remove the surplus according to the product instructions before it cures.
Always follow the manufacturer's guidance for recoating, drying and weather conditions. Direct sun or a hot surface can make the stain dry too quickly, while damp conditions can delay curing. Keep pets and people off the deck until the coating has dried and the product instructions permit access.
The following demonstration is useful for observing how tools, board direction and section size affect the finish.
Before packing away, inspect every board from different angles. Look for holidays, lap marks, glossy pools and lighter patches. Correcting those areas while the product is workable is far easier than trying to disguise them after the coating has cured.
Maintaining Your Deck for Long-Lasting Results
A fixed annual staining rule is too blunt for North Shore conditions. Maintenance should respond to exposure and coating condition. A sheltered deck may remain evenly protected longer than an exposed coastal surface, while a deck beneath trees may need more frequent cleaning because debris holds moisture.
Inspect the deck at least annually and after severe wet-weather periods, following the inspection-led approach set out in New Zealand maintenance guidance. The official guide to tolerances and maintenance considerations supports assessing the component, its position, location and specific site conditions rather than applying one universal interval.
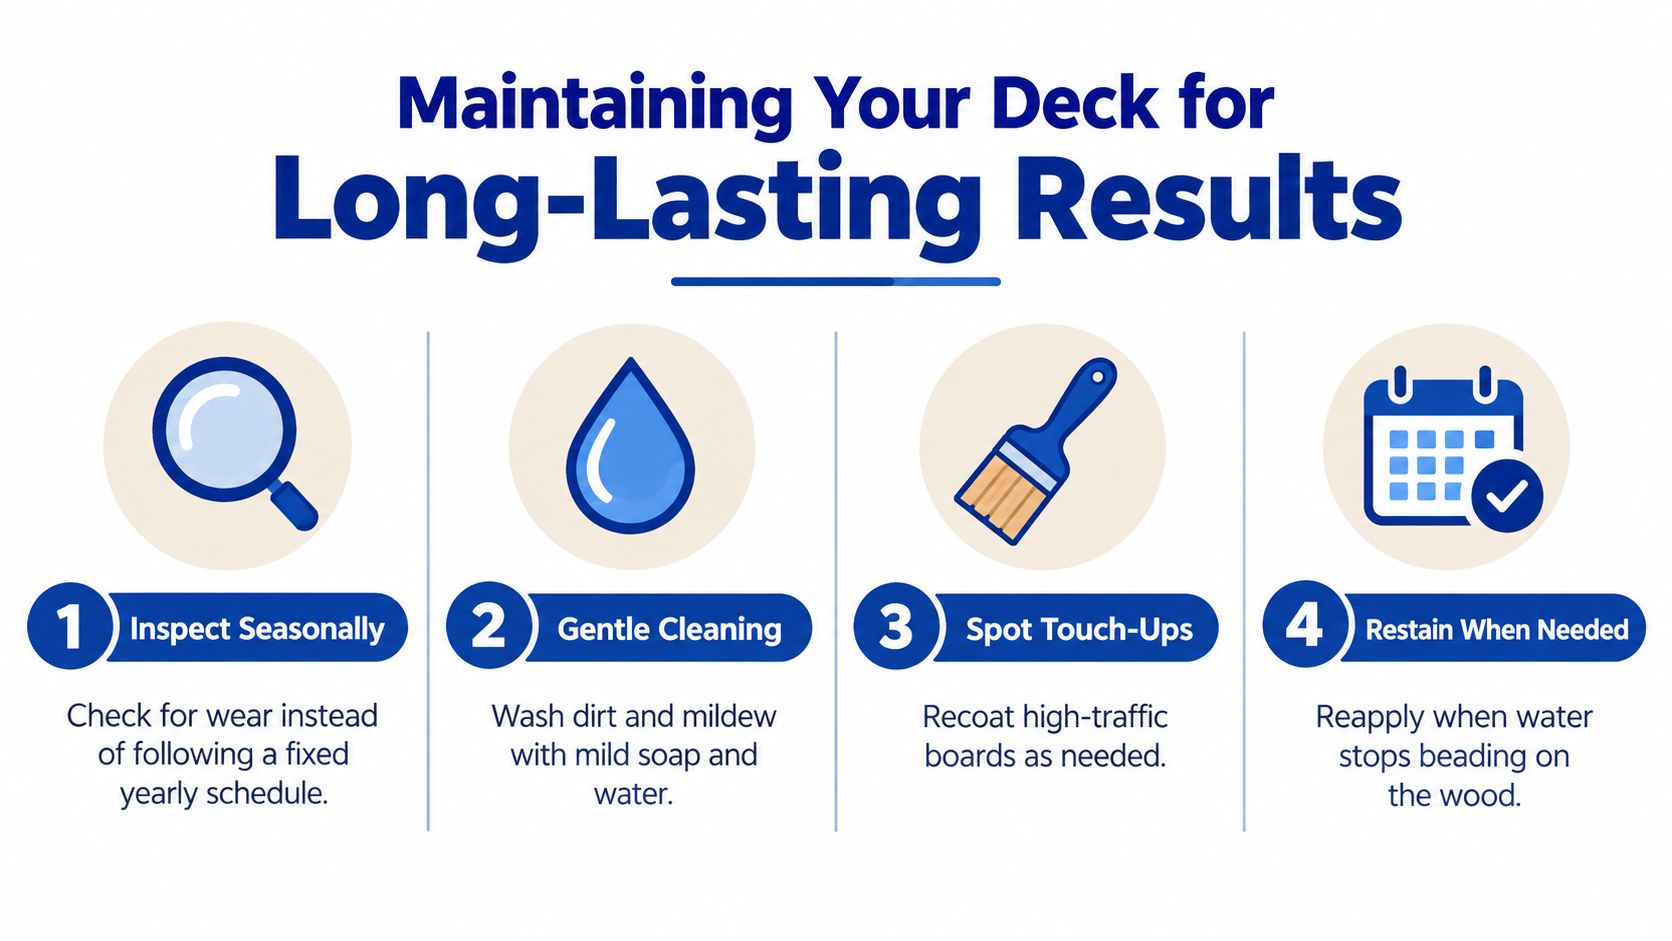
Recoat based on what you find
Look for whitening, patchiness, peeling, exposed end grain and areas where the timber no longer appears uniformly protected. Check high-traffic boards, stair treads and the side facing prevailing weather first. Wash away salt and organic contamination, clear gaps and keep drainage paths open before small defects become preparation problems.
A simple refresh may be suitable when the timber is sound and the coating is wearing evenly. Remove loose material, clean, dry, test a small area and recoat compatible surfaces. Replacement or professional assessment is more appropriate where you find soft boards, persistent water retention, significant warping, corroded fixings or a deck junction that could affect the building envelope.
For broader moisture-management principles, this homeowner's deck waterproofing guide provides useful context. Waterproofing advice doesn't replace local inspection, but it reinforces the central point: keeping water moving away from timber matters more than repeatedly covering visible fading.
A well-maintained deck doesn't follow a calendar blindly. It follows evidence from the site, the timber and the finish. That approach helps you spend time on cleaning and small touch-ups when they are enough, while recognising when staining would only disguise a repair that needs to happen first.
Painters North Shore offers timber assessment, preparation, deck staining and protective coating work matched to the timber and local exposure. If your deck has uneven fading, soft areas or coastal weathering, visit Painters North Shore to arrange an assessment before recoating.